Startup Guide Steps

First time using the RICOH THETA SC2 & RICOH360
Welcome! This startup guide is designed to help first-time users of the RICOH THETA SC2 360° camera and RICOH360 Cloud service smoothly take, upload, and share photos.
This page provides a brief overview of what you can do with RICOH360, as well as the overall flow of the guide and what to do at each step.
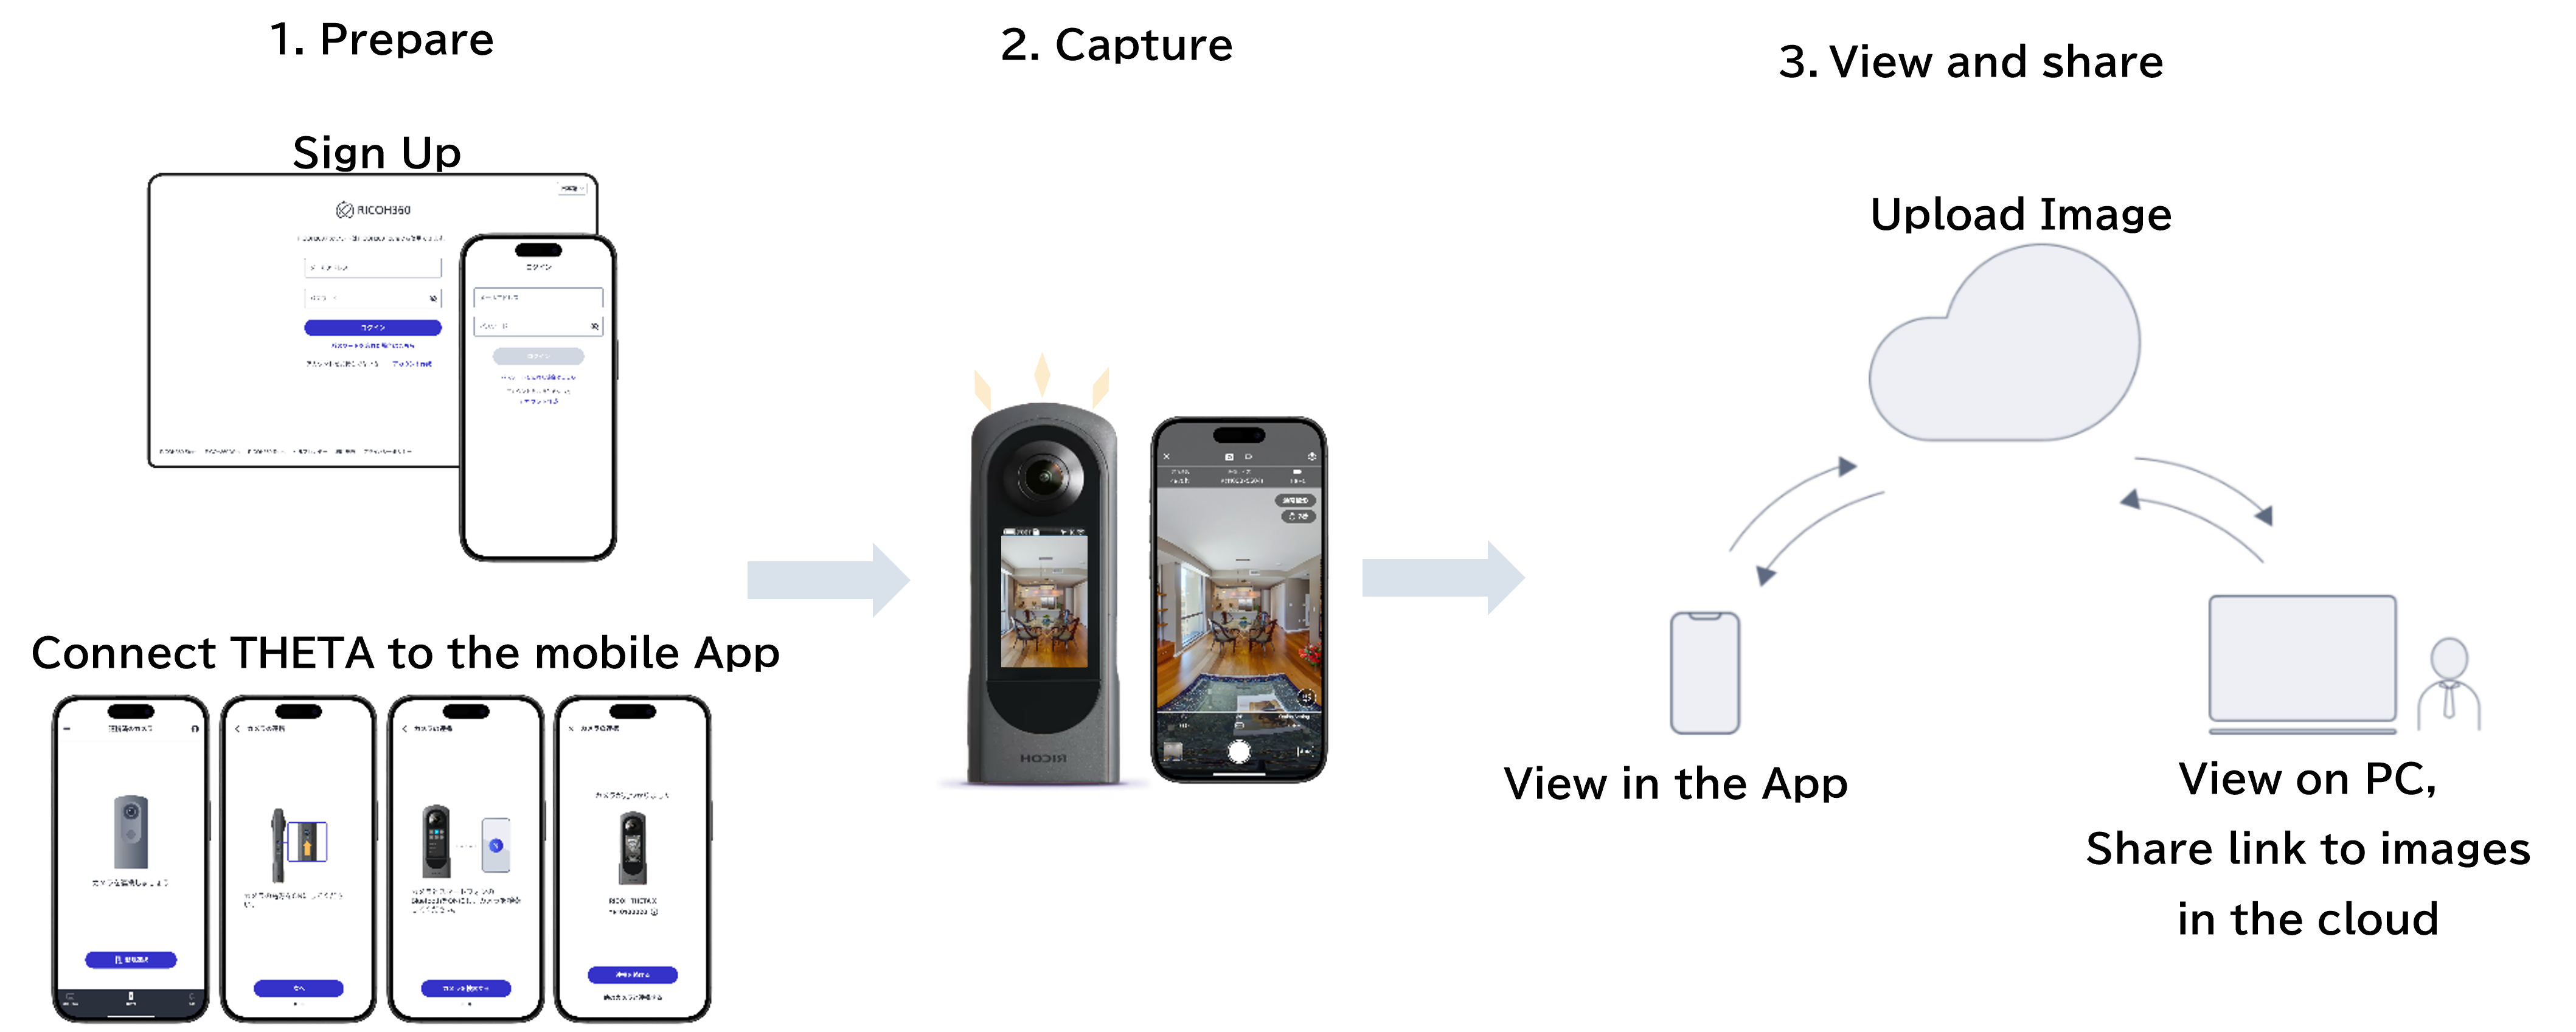
RICOH360 is a service that allows you to manage, share, and utilize photos and videos captured with THETA in the cloud. Photos and videos uploaded to the cloud can be viewed via a web browser on your PC or smartphone.
In addition, by using the RICOH360 app for smartphones, you can connect the THETA to the app and shoot, view, manage, edit, and share photos and videos on the cloud from your smartphone.