Upload Image to Cloud using RICOH360 (Web Version)
If you want to view and share 360-degree images on your PC, you can do so by uploading them to the RICOH360 Cloud using RICOH360 (web version).
Images uploaded to the RICOH360 Cloud can be viewed and shared from either RICOH360 (web version) or RICOH360 App (smartphone version).
Supported File Formats
- Images: JPEG format only(RAW is not supported)
- Video: MP4 format, 1 GB or less
Uploading images to the RICOH360 Cloud
- Log in to RICOH360 (web version).
- Click the “Add” button on the home screen.
- Select the image you want to upload in the dialog box that appears, and click “Open.”
When the upload is complete, thumbnail images will be displayed on the “Photos/Videos” list screen.
Viewing images on RICOH360 Cloud
Follow the steps below to switch to 360-degree view mode (you can change the viewing angle by swiping the screen).
- Log in to RICOH360 (web version).
- Click on the thumbnail of the photo or video from the thumbnail list displayed on the top page.
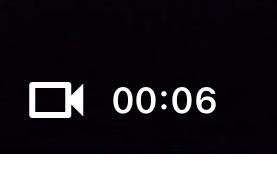
For video files, a video mark and the recording time are displayed at the bottom left of the thumbnail image.
Videos will play automatically when you switch to display mode.
You can zoom in and out using the buttons below the viewer.
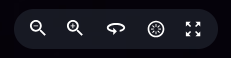

Zoom out

Zoom in

Auto rotation
Tap to move the view to the right without swiping the screen

Return to initial view
The center of the lens on the side of the THETA device without the shutter button will become the initial viewpoint of the image.

Fullscreen
When viewing videos, a slide bar and audio ON/OFF button will appear below each button.
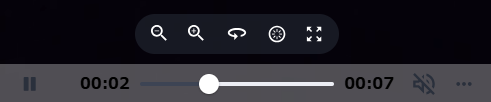
Tap the ... mark at the bottom right to display a toggle switch to turn the video top/bottom correction ON/OFF.
The default setting is top/bottom correction ON, and the ON/OFF setting will apply to all videos played.
